
Adding HTTP targets§
Connection setup§
Log into the Warpgate admin UI and navigate to Config > Targets > Add target and give the new HTTP target a name:
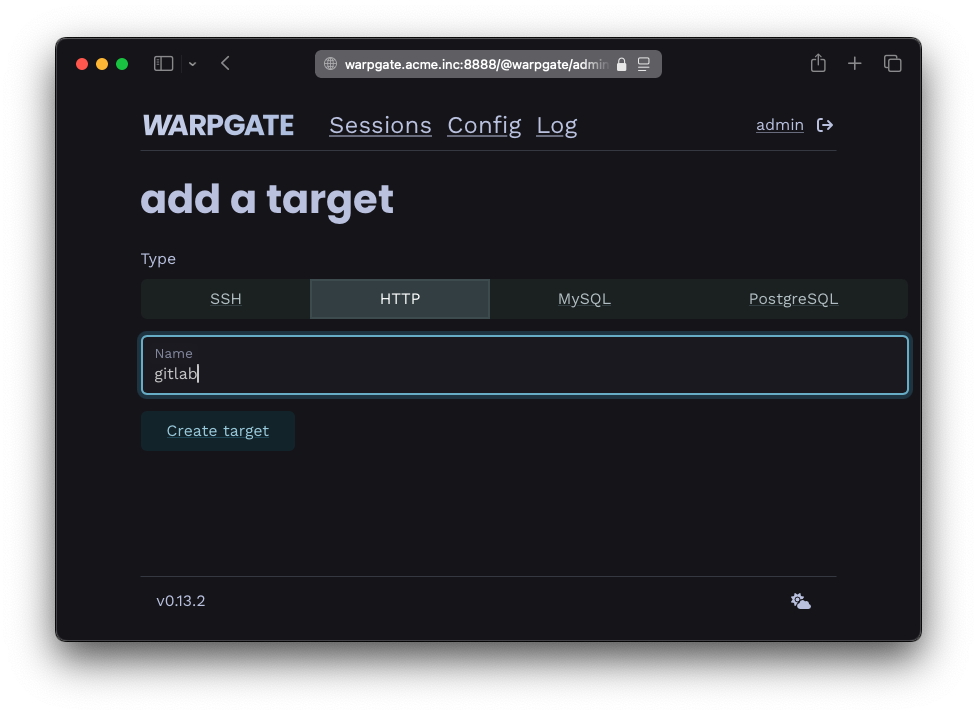
Adding an HTTP target
Fill out the configuration:
- Target URL: the destination web service, including the protocol (
http://orhttps://). - TLS mode: whether to ignore, prefer or require TLS (overrides the URL's protocol).
- Verify certificate: whether to reject untrusted certificates.
- Bind to a domain: link this target to a specific sub-domain of the domain Warpgate is on - see HTTP domain binding
Example:
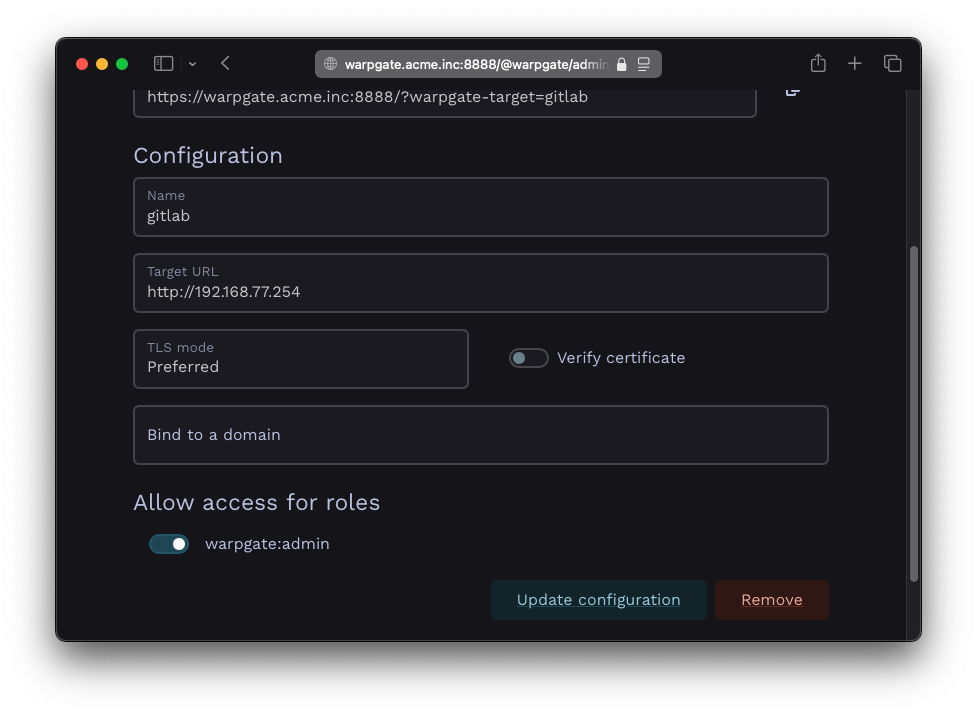
HTTP target configuration
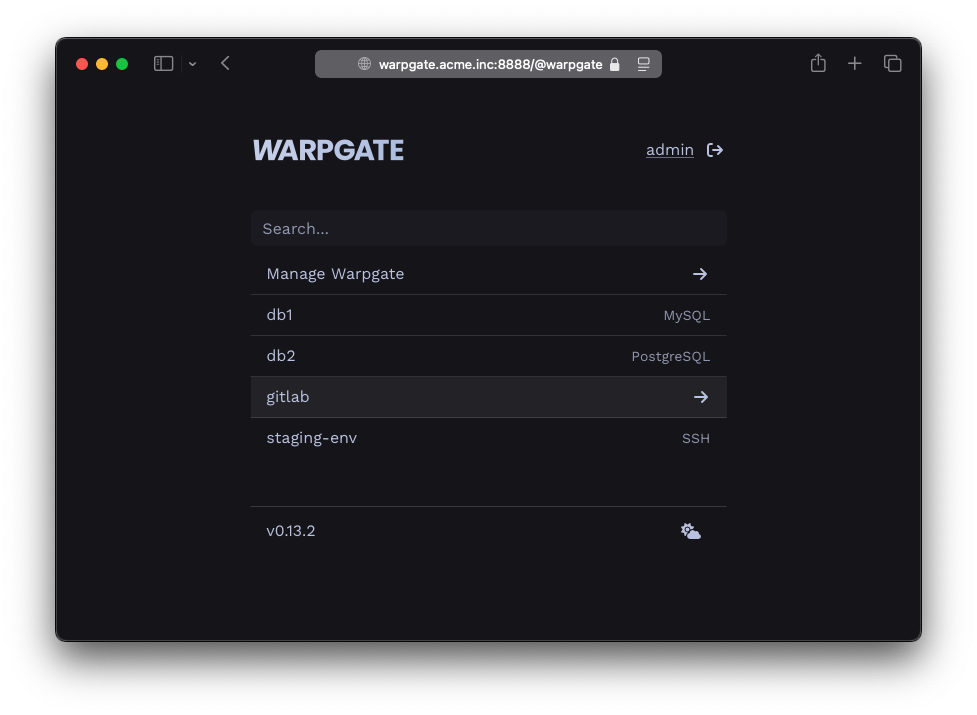
The target should show up on the Warpgate's homepage:
HTTP target on the home page
Accessing the target§
Users can either access the target by selecting it on the Warpgate's homepage, with a direct URL:
https://<warpgate host>:<port>/?warpgate-target=<name>
You can also find a copyable URL in the Targets section of the admin UI:
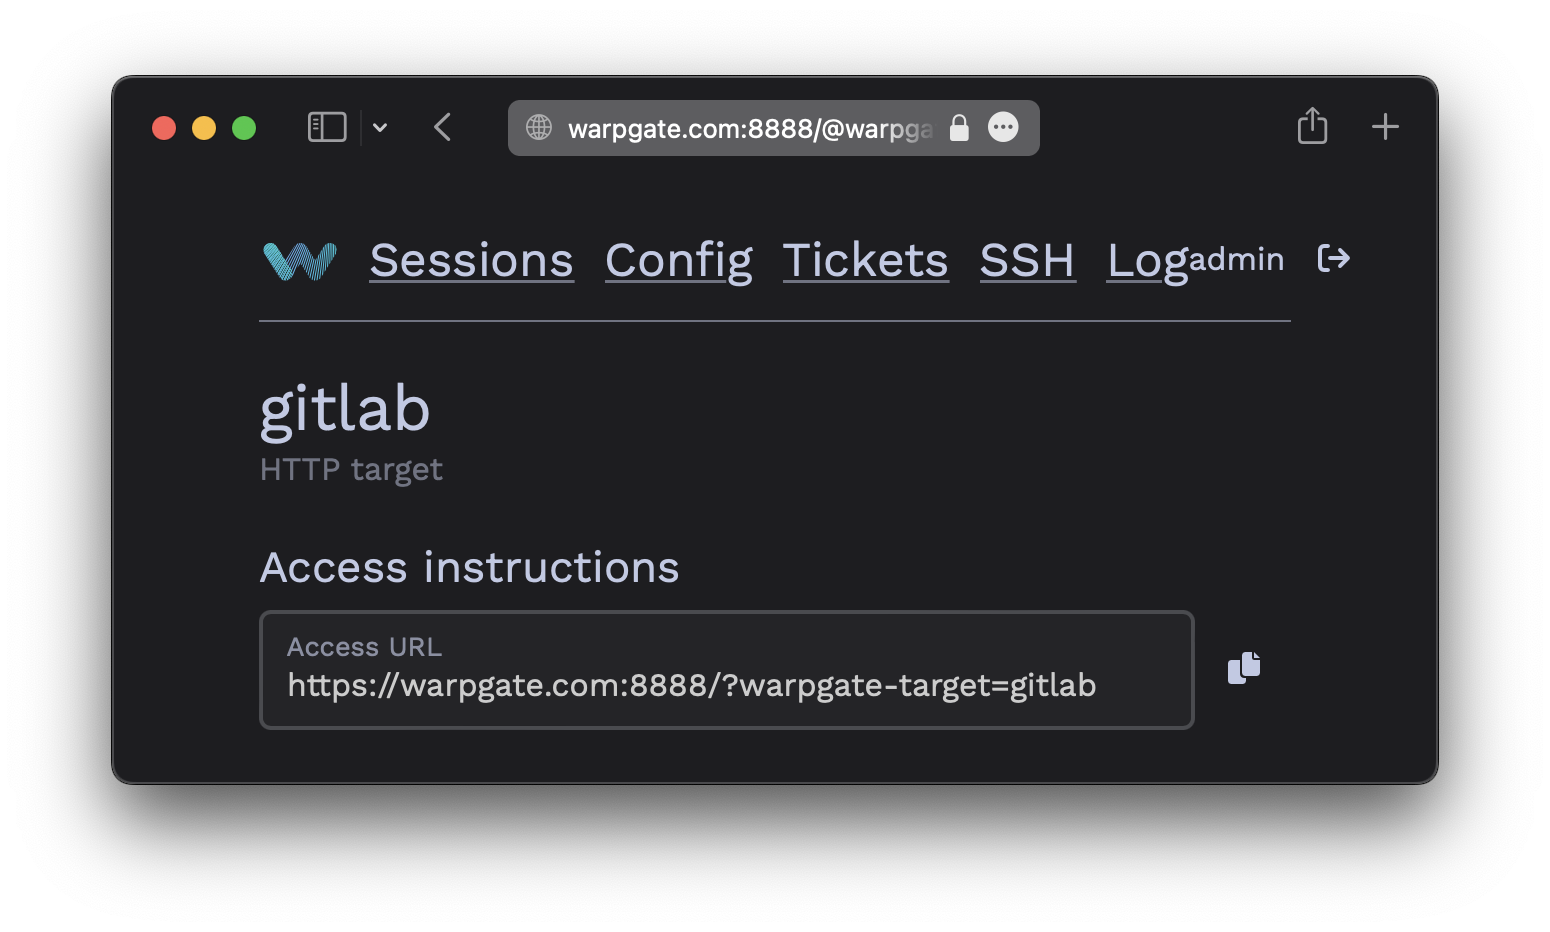
HTTP connection instructions
While the target is active, Warpgate will pass-through all HTTP traffic in this session straight to it. You can return back to the homepage by manually navigating to /@warpgate, or by using the injected session menu (shown below). The menu button can be dragged around to stay out of the way and will remember its location.
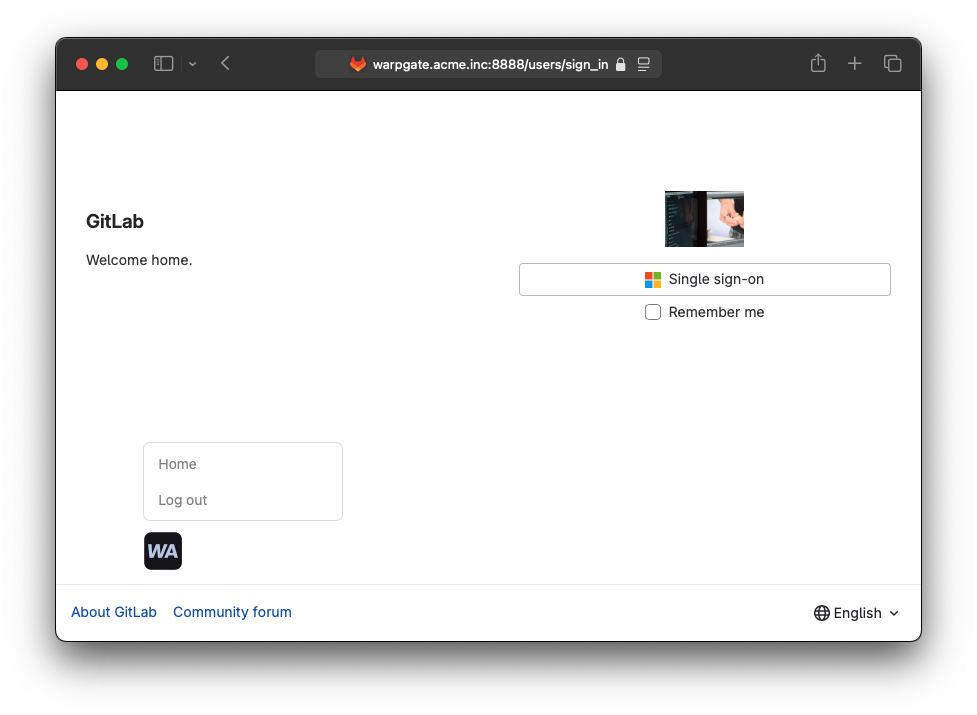
Accessing an HTTP target
Custom headers§
You can specify custom HTTP headers that Warpgate will send to the target for every request. This is useful for adding authentication tokens or debugging headers.
Built-in headers§
Warpgate automatically adds the following headers to all requests:
| Header | Description |
|---|---|
x-warpgate-username |
The authenticated username |
x-warpgate-authentication-type |
The authentication method used (e.g., user, ticket) |